
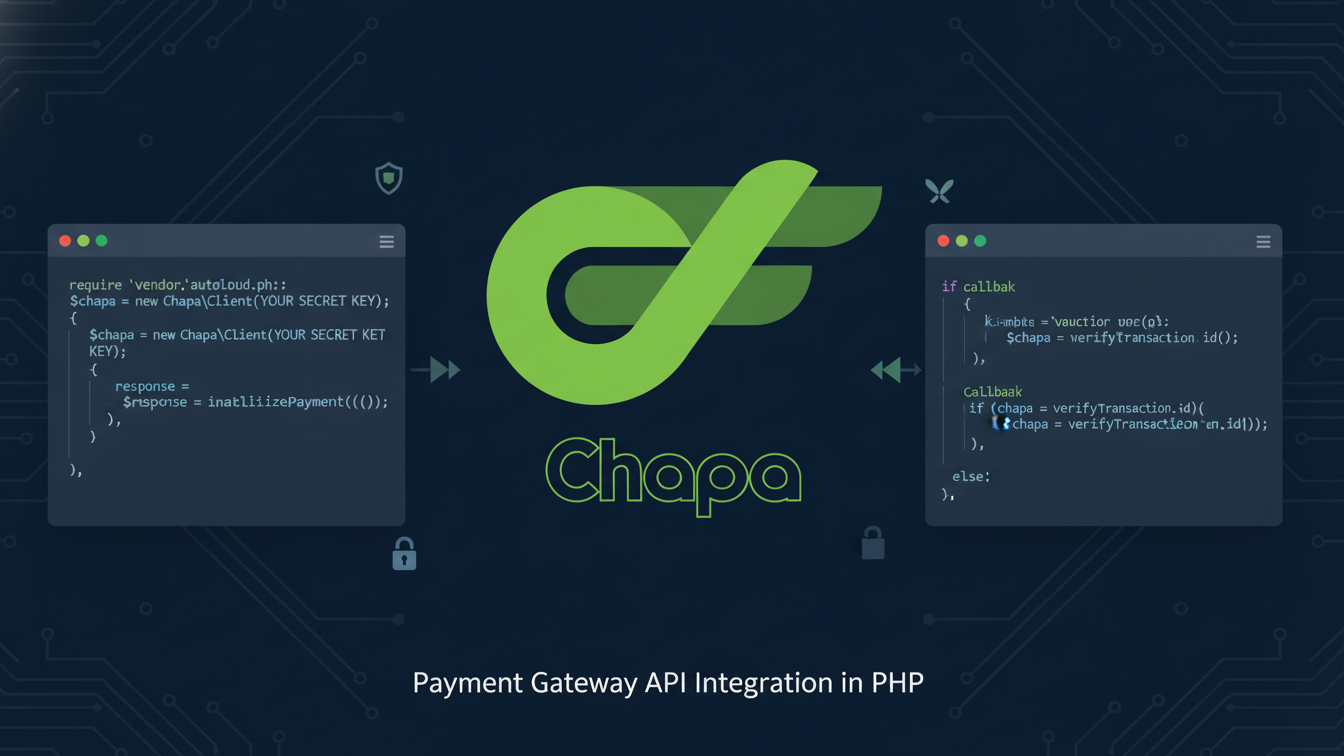
What Is Chapa Payment Gateway and How Its API Works in PHP
Online payments are a critical component of modern web applications. If you are targeting users in Ethiopia or Africa, Chapa Payment Gateway is one of the most reliable and developer-friendly payment solutions available today. In this tutorial, you will learn how to integrate the Chapa Payment Gateway API in PHP from scratch. This guide covers:
- Payment initialization
- Payment verification
- Webhooks and callbacks
- Securing API keys
- Testing success, failure, and edge cases
- Writing clean, maintainable, and documented PHP code
This article is suitable for beginners, intermediate PHP developers, and freelancers building real-world payment systems.
What Is Chapa Payment Gateway API?
Chapa is a digital payment platform that allows businesses to accept payments via:
- Bank transfers
- Mobile money
- Cards
- Local payment methods
Chapa provides a RESTful API that is easy to integrate with PHP, Laravel, WordPress, and other platforms.
Prerequisites for Chapa Payment Gateway API Integration
Before starting, ensure you have:
- PHP 7.4 or higher
- A web server (Apache / Nginx / XAMPP)
- cURL enabled in PHP
- Basic knowledge of PHP and JSON
- A Chapa merchant account
Step 1: Create a Chapa Merchant Account
- Visit the Chapa website
- Register as a merchant
- Access your Dashboard
- Copy your:
- Public Key
- Secret Key
⚠️ Never expose your Secret Key in frontend JavaScript or public repositories.
Step 2: Secure Your API Keys (Best Practice)
Create a configuration file to store your Chapa keys securely.
config.php
✔ Add it to .gitignore if using Git
Step 3: Payment Flow Overview
Understanding the flow is critical:
- User clicks Pay Now
- Backend initializes payment with Chapa
- User is redirected to Chapa checkout
- Payment is completed or failed
- Chapa redirects to callback URL
- Backend verifies transaction
- Order is confirmed or rejected
Step 4: Initialize Payment with Chapa API
Required Parameters
- amount
- currency (ETB or USD)
- first_name
- last_name
- tx_ref (unique transaction reference)
- callback_url
- return_url
initialize_payment.php
Step 5: Handle Callback / Return URL
Chapa redirects the user after payment, but never trust frontend redirects alone.
success.php
Step 5: Handle Callback / Return URL
Always verify payment server-to-server.
verify_payment.php
✔ Check amount, currency, and tx_ref before confirming order
✔ Prevent duplicate processing
Step 7: Implementing Chapa Webhooks in PHP for Reliable Payment Confirmation
Webhooks ensure you receive payment updates even if the user closes the browser.
Set Webhook URL in Chapa Dashboard
Example:
https://yourdomain.com/webhook.php
webhook.php
✔ Avoid duplicate processing using transaction reference
Step 8: Testing Chapa Payment Gateway API Integration in PHP (Sandbox Mode)
Chapa provides test keys.
Set Webhook URL in Chapa Dashboard
Test Scenarios for Chapa Payments API
| Case | Expected Result |
|---|---|
| Successful payment | Status = success |
| Cancelled payment | Verification fails |
| Invalid tx_ref | API returns error |
| Duplicate verification | Block reprocessing |
Step 9: Security Best Practices
- Never expose secret keys in JavaScript
- Validate payment amount and currency
- Use HTTPS only
- Store transaction references securely
- Protect webhook endpoint
- Log all API responses for debugging
Step 10: Common Errors and Fixes
Invalid API Key
✔ Ensure correct environment key (test vs live)
Payment Redirect Works but Not Verified
✔ Missing verification step
✔ Wrong tx_ref
Duplicate Payments
✔ Mark transactions as processed in database
Conclusion
Integrating the Chapa Payment Gateway API in PHP is straightforward when you follow best practices. By properly initializing payments, verifying transactions, handling callbacks and webhooks, and securing your API keys, you can build a robust and production-ready payment system.
This guide provides everything you need—from basic setup to advanced security considerations—to confidently deploy Chapa payments in real-world PHP applications.

Leave A Comment